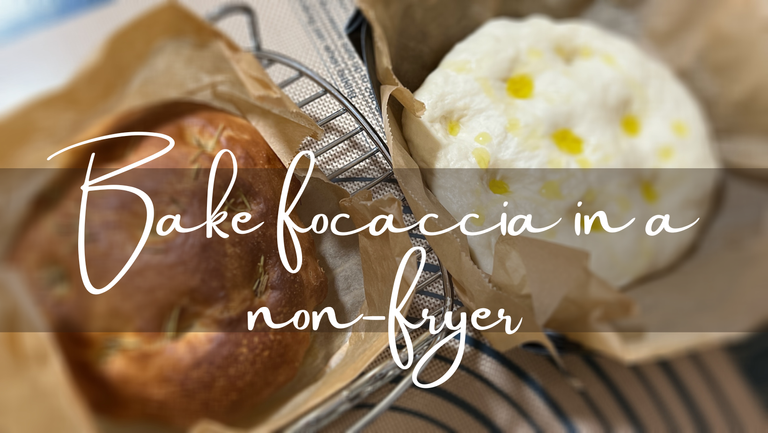
My Actifit Report Card: April 17 2024| Bake focaccia in a non-fryer/ノンフライヤーでフォカッチャを焼く/[ENG/JPN]
The article in Japanese is in the second half.★日本語の記事は後半に。
I baked bread with rice flour and tofu in January 2024.
After that, I concentrated my efforts on my balcony vegetable garden and did not bake bread.
That said, recently I saw many short movies of bread baking uploaded on Instagram and it really stimulated my desire to bake bread.
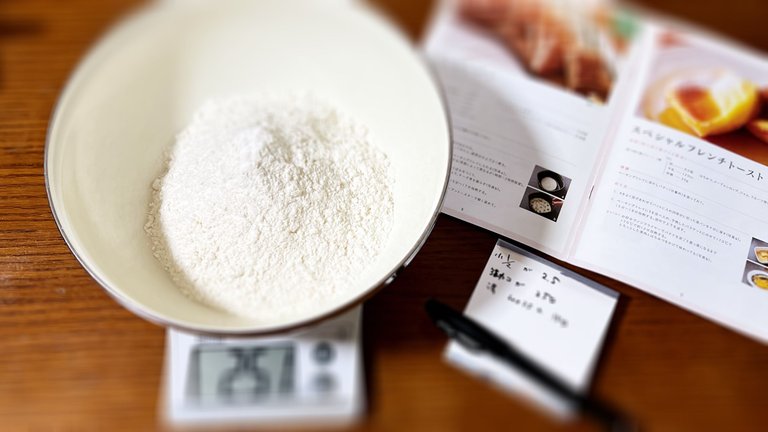
There are so many different types of bread, and watching the process of measuring flour, mixing ingredients, kneading, forming, baking, and watching the process is exciting, even if the video is only a minute long.
I have not baked focaccia in a long time.
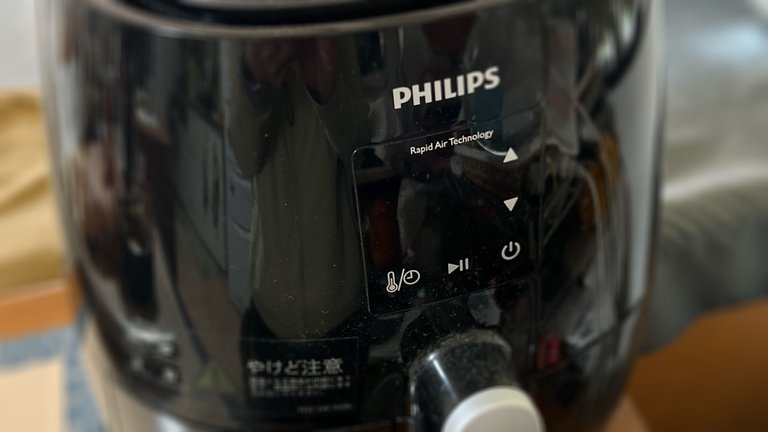
I use a non-fryer instead of an oven.
My non-fryer can also bake breads and cakes, and I find this function very useful.
I usually use the oven function of my microwave oven to bake breads and sweets, but in that case, I cannot use the normal microwave function for the hour between preheating and baking, and until the microwave oven cools down after baking is complete.
Using a non-fryer frees you from the inconvenience of not being able to use the microwave oven for about three hours. It is only 3 hours, but for some reason, it is only during these 3 hours that "Oh, I need the microwave now..." occurs.
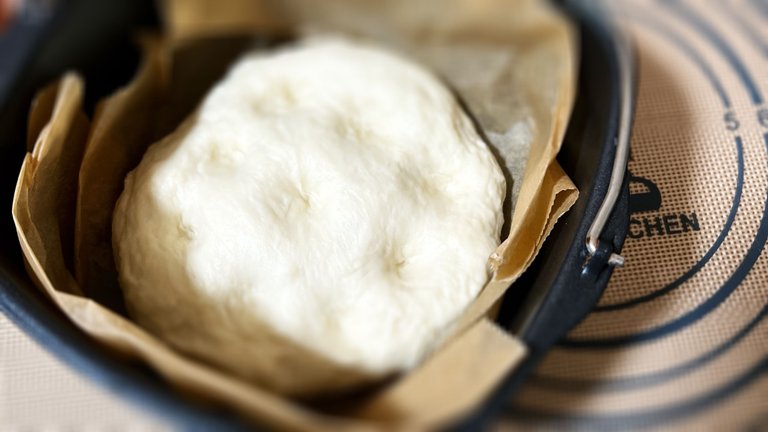
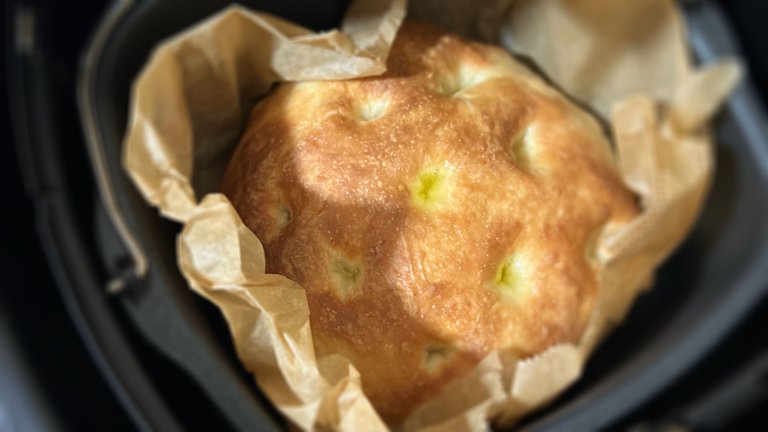
The non-fryer in my house comes with a deep, square container called a "baking tray.
You can bake bread and sweets by putting the dough in this container.
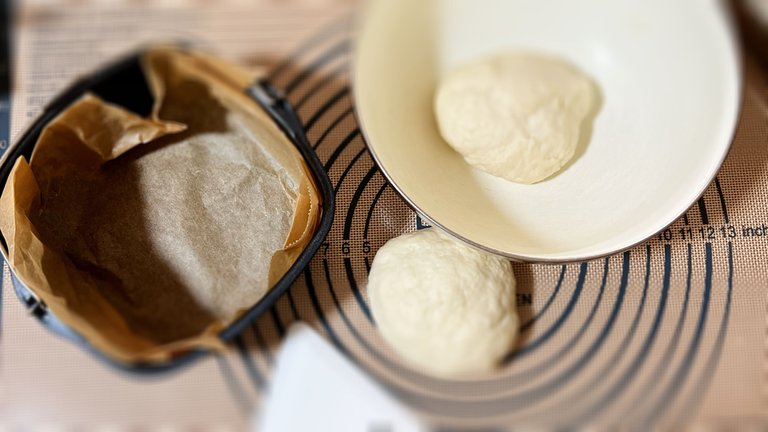
As you can see in the picture, it is very easy to remove the dough from the baking tray by placing a sheet of baking paper on top of it.
This baking tray is deep enough to do oil confit.
You can also make things like stewed chunks of meat or baked risotto, and since there is a recipe book specially designed for this purpose, I would like to try a few different dishes.
According to the recipe book that comes with it, you knead the flour, olive oil, and hot water, then ferment only once and bake immediately, but I let it rise a total of three times.
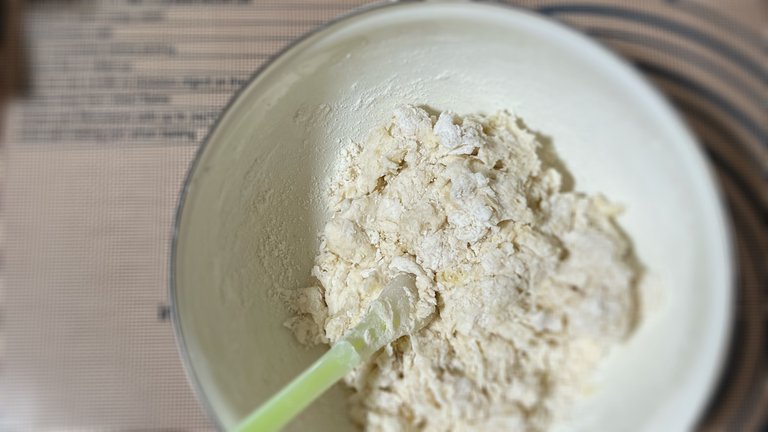
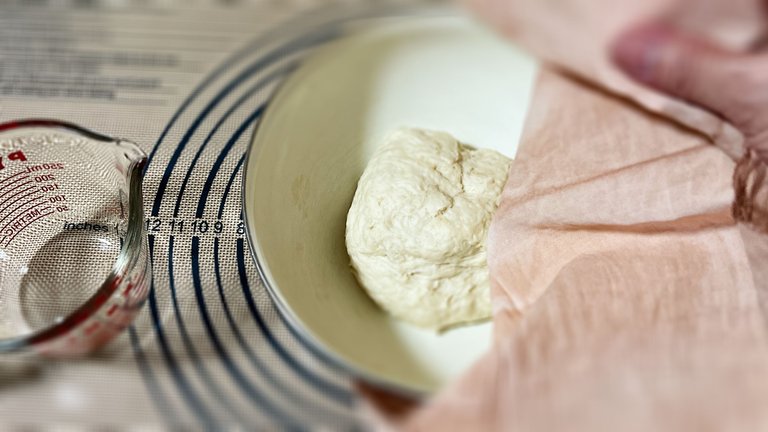
First, I knead the flour, olive oil, and hot water, and when it comes together, I let it rise for 30 minutes to an hour. This alone really makes the dough moist and the finished bread smooth.
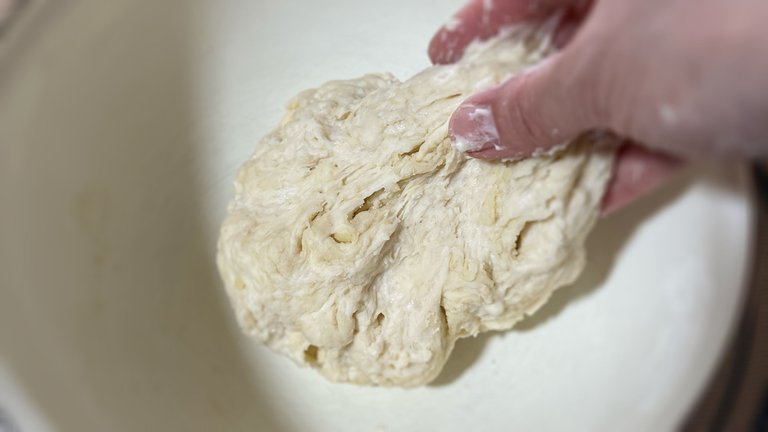
Next, knead the dough thoroughly before the first fermentation.
Finally, knead the dough lightly again, shape it roughly, and let it go through the second fermentation.
After the second fermentation is finished, the bread looks like focaccia when you shape it with your fingers.

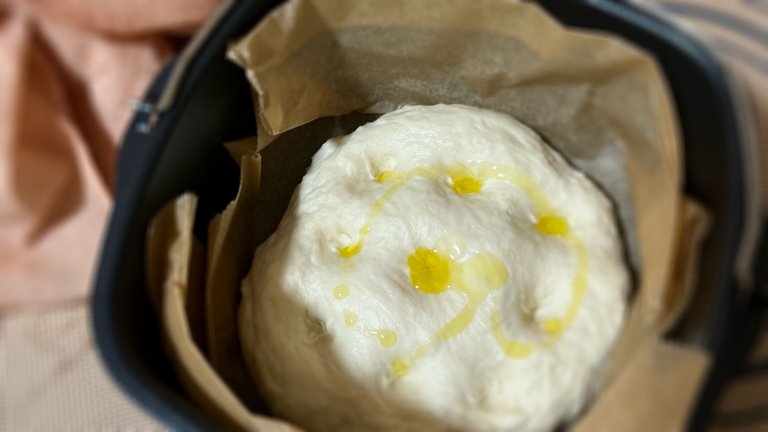
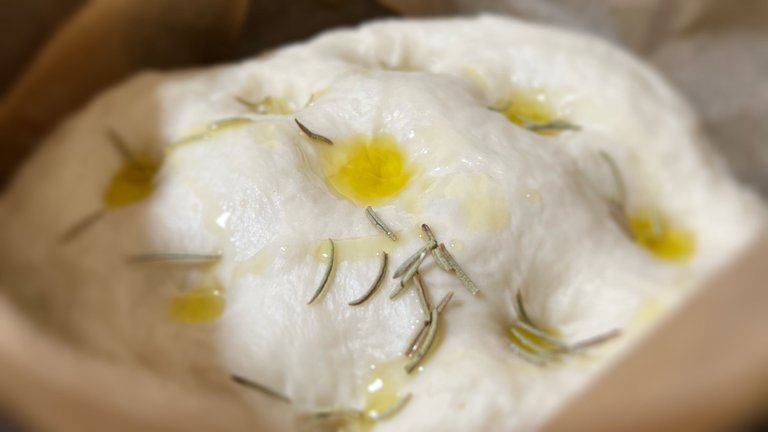
Drizzle lightly with olive oil and go baking from now on.
Baking just one focaccia on this baking tray will leave you with extra dry yeast, which you can buy at the supermarket.
The box of dry yeast comes in 10 small sachets of 3 g. To use up the 3 g, I used 2.5 times the amount of dry yeast per slice as described in the recipe book.
So I usually bake one sheet of focaccia, but this time I baked two slightly thicker pieces.
I put dried rosemary on one sheet.
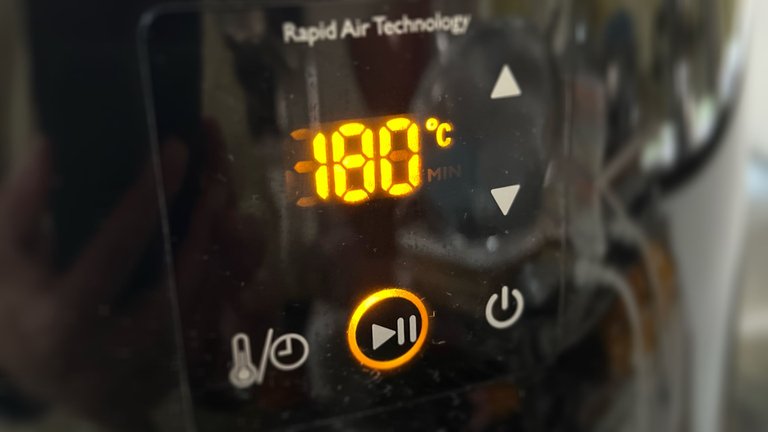
Preheat a non-fryer to 180°C and bake for 15 minutes.
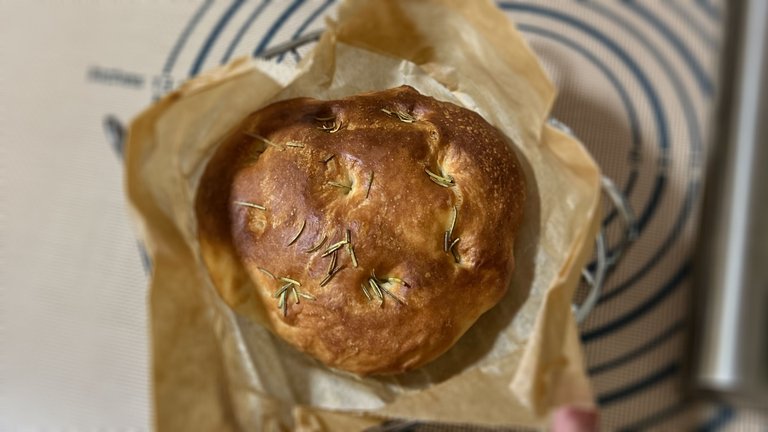
I think the heat was a little too strong.
It burned quite well.
I stopped cooking for 15 minutes and changed it to 13 minutes.
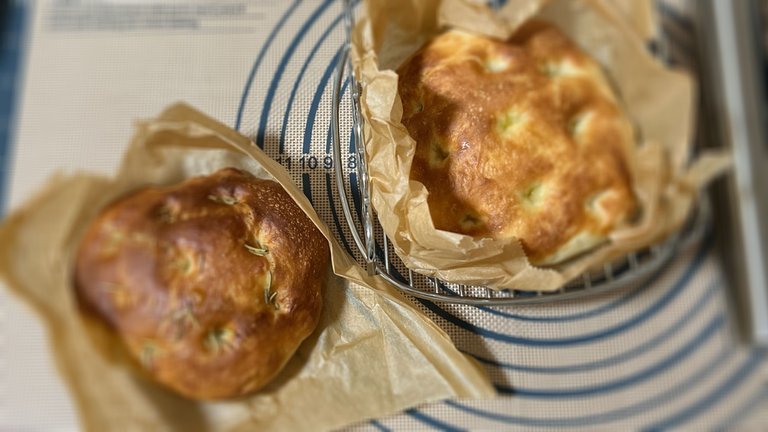
The second one was moderately burned. This is about ideal for me.
I have baked focaccia many times in this non-fryer, as well as other breads and sweets, but each time I feel the heat is too strong.
So I adjust the heat a little, but I don't want it to be too strong, because I don't want it to be raw.
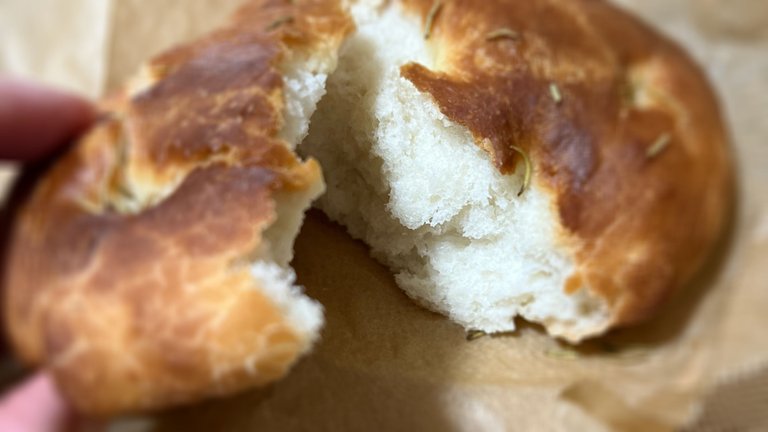
I made no mistake this time, and measured the amounts correctly, but the salt I used was different from what I usually use.
It turned out to be a very salty focaccia.
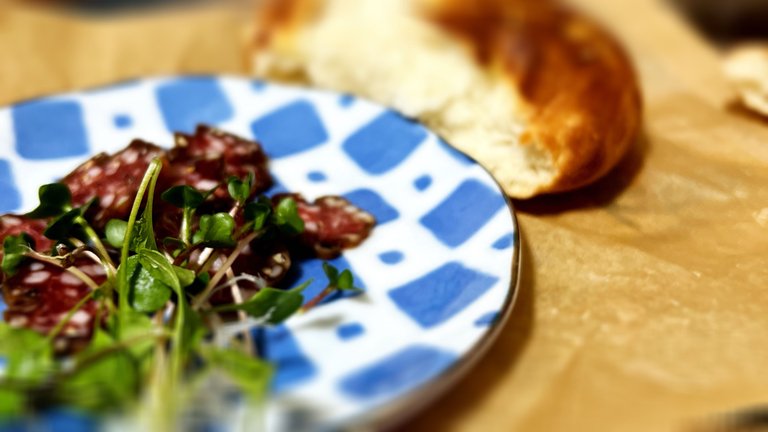
However, it was a good lunch with salami and micro greens.
In fact, I have hardly used the non-fryer for the fixed purpose of "frying food without oil," and there was a time when I regretted buying it a little, thinking that I was not making good use of it at all.
However, since I have started using it mainly for baking bread and sweets in this way, it has been really useful in my daily life, and I am glad I bought it.

■diary with a few words
For the past week or so, I have been looking at the thermometer and seeing that "the temperature inside the room and the temperature on the balcony are almost the same.
When the temperature inside the room is 18℃, the temperature on the balcony is also 18℃.
When the temperature inside the room is 24°C, the temperature on the balcony is also roughly 24°C.
I am happy to know that the temperatures on the balcony and in the vegetable garden are the same, as if I am sharing the same conditions with the vegetables.

Japanese★ここから日本語でお送りいたします。
2024年1月に米粉と豆腐を使ったパンを焼きました。
その後、ベランダ菜園に集中して取り組んでいてパン焼きをしていませんでした。
それが、最近Instagramにアップロードされているたくさんのパン焼きのショートムービーを見て、本当にパンを焼きたい気持ちが刺激されました。
パンには色々な種類があって、粉を測ったり、材料を混合したり、捏ねたり、成形したり、焼成したり、プロセスを見ていると、ほんの1分程度の動画でもワクワクします。
私は久しぶりにフォカッチャを焼くことにしました。
オーブンではなく、ノンフライヤーを使います。
私が持っているノンフライヤーはパンやケーキも焼くことができて、この機能は非常に重宝しています。
と言うのは、私は通常電子レンジのオーブン機能を使ってパンやスイーツを焼くのですが、その場合は予熱から焼成完了までの1時間と、焼成が終わってから電子レンジが冷めるまでのあいだ、通常の電子レンジ機能を使うことができません。
ノンフライヤーを使えば「電子レンジが3時間くらい使えなくなる」という不便さから解放されます。たった3時間なんですけど、なぜかこの3時間に限って「あー今電子レンジが必要なのよ〜」ということが発生するんですよね。
私の家にあるノンフライヤーには「ベーキングトレイ」という名称の深めの四角い容器が付属しています。
ここに生地をいれてパンやスイーツを焼くことができます。
写真のようにベーキングペーパーを敷いてから生地を入れると取り出すのもとても楽です。
このベーキングトレイは深さがあるのでオイルコンフィもできます。
塊肉の煮込みとか焼きリゾットのようなものも作ることができ、専用のレシピブックもあるので、少しずつ色々な料理にチャレンジしてみたいと考えています。
付属のレシピブックによると粉類とオリーブオイルとお湯を捏ねて、1回だけ発酵させてすぐに焼いてしまうのですが、私は合計3回寝かせています。
まず、粉類とオリーブオイルとお湯を捏ねて、ひとまとまりになったら30分から1時間寝かせます。これだけで本当に生地がしっとりして、仕上がりも滑らかなパンになります。
次にしっかり捏ねてから一次発酵へ。
最後にもう一度軽く捏ねて、だいたい成形して二次発酵させます。
二次発酵が済んで指の形をつけたらフォカッチャらしくなって来ました。
オリーブオイルを軽く振りかけてこれから焼いて行きましょう。
このベーキングトレイで1枚だけフォカッチャを焼くと、スーパーマーケットで購入できるドライイーストが余ってしまいます。
そのドライイーストは、1箱に小分けの3gの小袋が10袋入っていて、この3gを使い切るため、レシピブックに書かれている1枚の分量の2.5倍の分量で作りました。
ですのでいつもは1枚のフォカッチャを焼きますが、今回は少し厚めのものを2枚焼きます。
1枚にはドライローズマリーを乗せてみました。
ノンフライヤーを180℃に予熱し、15分焼きます。
ちょっと火力が強かったようです。
かなりよく焼けてしまいました。
15分をやめて13分にしました。
2枚目は程よく焼けました。これくらいが私としては理想です。
このノンフライヤーでもう何回もフォカッチャを焼いていて、他にもパンやスイーツを焼いているのですが、毎回火力が強く感じます。
それで、少し加減するのですが「生焼けは困るなぁ」と思うので、どうしても強目に焼けてしまいます。
今回間違えずに分量をちゃんと測ったんですけど、使った塩がいつもと違うものでした。
そしたらなんだか随分としょっぱいフォカッチャになってしまいました。
けれど、サラミとマイクログリーンを挟みながら食べると良いランチになりました。
実はノンフライヤーは「油を使わない揚げ物をする」という固定した用途ではほとんど使用していなくて、全然活用出来てないなぁと少し買ったことを後悔していた時期もありました。
しかし、こうやってパンやスイーツを焼くのをメインにしてからは本当に日常に役立っていて、買っておいて良かったなーと感じています。
■ひとこと日記
ここ1週間くらい、気温計を見ていると「部屋の中の気温とベランダの気温がほぼ同じ」です。
室内が18℃の時はベランダも大体18℃。
室内が24℃の時はベランダも大体24℃。
ベランダ菜園と室内が同じ気温というのは、自分が野菜たちと同じ条件を共有しているようで嬉しいです。

Google Translate & DeepL, thank you as always.
I am glad that you read it :-)
今日も読んでくださってありがとうございます😊
This report was published via Actifit app (Android | iOS). Check out the original version here on actifit.io


Did you know that Actifit team has shared our growth plans for 2024, and we need your support by voting to our proposal?
Quick links to vote below. Thank you!
Vote on peakd
Vote on ecency
Vote on Hive wallet
Vote via hivesigner
You have been rewarded 64.4525 AFIT tokens for your effort in reaching 13534 activity, as well as your user rank and report quality!
You also received a 0.96% upvote via @actifit account.
AFIT rewards and upvotes are based on your:
To improve your user rank, delegate more, pile up more AFIT and AFITX tokens, and post more.
To improve your post score, get to the max activity count, work on improving your post content, improve your user rank, engage with the community to get more upvotes and quality comments.
Chat with us on discord | Visit our website
Follow us on Twitter | Join us on Telegram
Download on playstore | Download on app store
Knowledge base:

FAQs | Whitepaper
How to signup | Maximize your rewards
Complete Actifit Tutorial
Actifit supports cross-chain decentralization. Support our efforts below by voting for:
パン焼きのショートムービー…分かります。材料を加えて混ぜる時の音がたまらなく美味しそうな音なんですよね。
フォカッチャ、とっても美味しそうです!
パン焼きやお料理のショートムービーは「そういうふうに編集してある」ってわかってても、テンポが良いのですごく手際よく見えて楽しいですよね😆音も魅力的です。
フォカッチャ、簡単で美味しくできていいですよ。次回はサンドイッチ作ろうと思ってます。
すばらしい 👏 おいしそうです。この小さな密閉空間でがっつり焼くのって、サワードウのパンにも向いていそうで、ノンフライヤーほしくなってきました・・・・・・😁 ノンフライヤーの温度は何度まであがりますか?フォカッチャって、数百度のピザ窯だと、多分数分で焼き上げるんですよ。
美味しくできました!(ちょっとしょっぱくなりましたが…)パン生地をこねるのは楽しいです😊
なるほど…密閉空間でぎゅっと焼く…こないだの耐熱ガラスもそうでしたね。考えたことなかったですが、サワードウのパンに向いてるかもしれません。
私の持っているノンフライヤーは温度調整が60℃から200℃で、最大60分タイマー機能があります。
そういえば、燃焼している薪ストーブ内部の温度は(性能にもよりますが)300℃~1000℃、表面温度は300℃前後で、友人の家の薪ストーブでピザ生地を焼いた時は、確か6分から10分くらいで焼けました。
フォカッチャが数分で焼き上がる、というのは、薪ストーブ+ピザの雰囲気からイメージがわかります!