[ENG-ESP] Repair and maintenance of my Bicycle
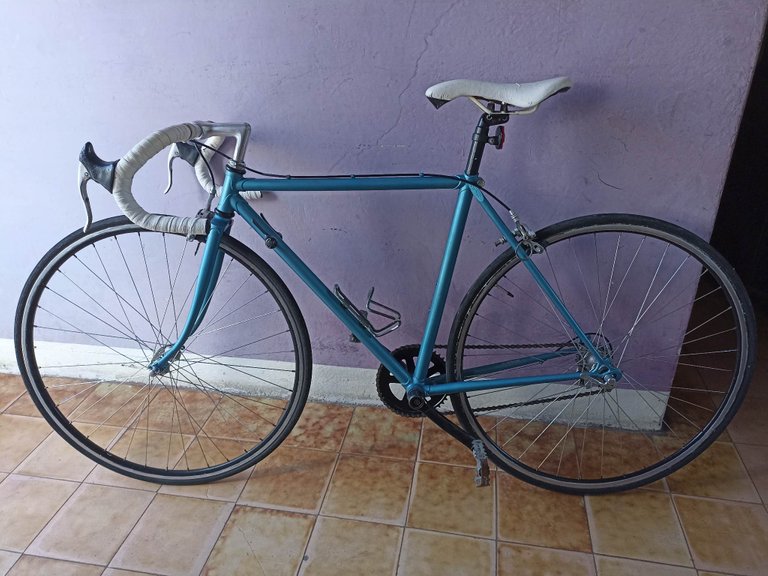
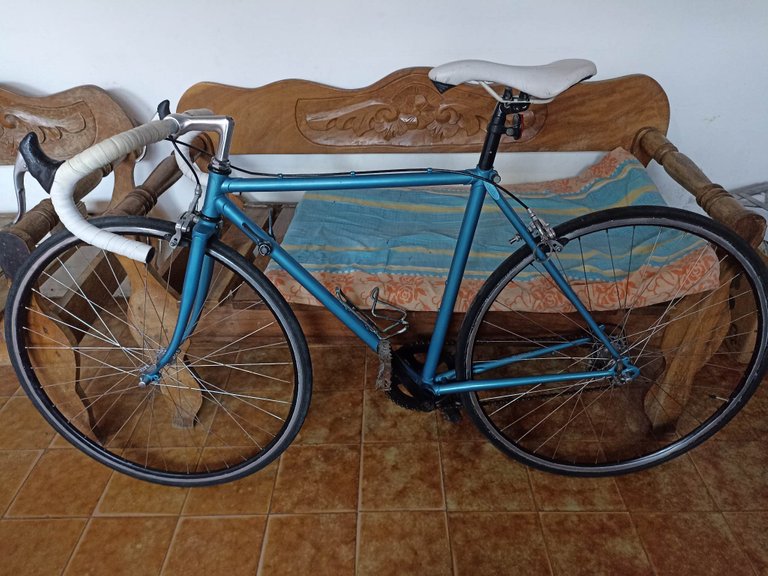
Hello dear friends, this time I bring a slightly different post, it is about a repair that I did myself to my bicycle since taking it to a workshop would have cost me a lot of money that I don't have now, so I decided to do it myself and finding out things from other experienced people to be able to fix the bike in the best way. My bike is a Benotto from the year 1980, it has been with me for 10 years now and I maintain it every year, however, this time I had overlooked it so it began to malfunction, I was checking it without finding the fault, since Although everything was in good condition, the rear wheel was very hard. I will tell you about the whole process below.
Hola queridos amigos, esta vez traigo un post algo diferente, se trata de una reparación que hice yo mismo a mi bicicleta ya que llevarla a un taller me hubiera costado mucho dinero que ahora no tengo, así que opté por hacerlo por mi mismo y averiguando cosas de otras personas con experiencia para poder arreglar la bicicleta de la mejor manera. Mi bicicleta es una Benotto del año 1980, ya tiene 10 años conmigo y le hago mantenimiento cada año, sin embargo, esta vez se me había pasado por alto así que comenzó a funcionar mal, estuve revisándola sin dar con la falla, ya que a pesar de que todo estaba en buen estado la rueda trasera estaba muy dura. A continuación les comentaré todo el proceso.

 |  |  |
|---|---|---|
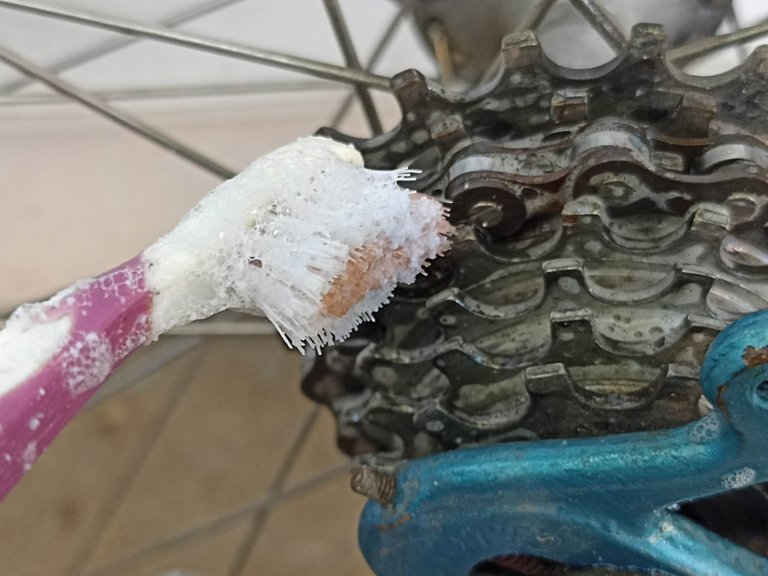 | 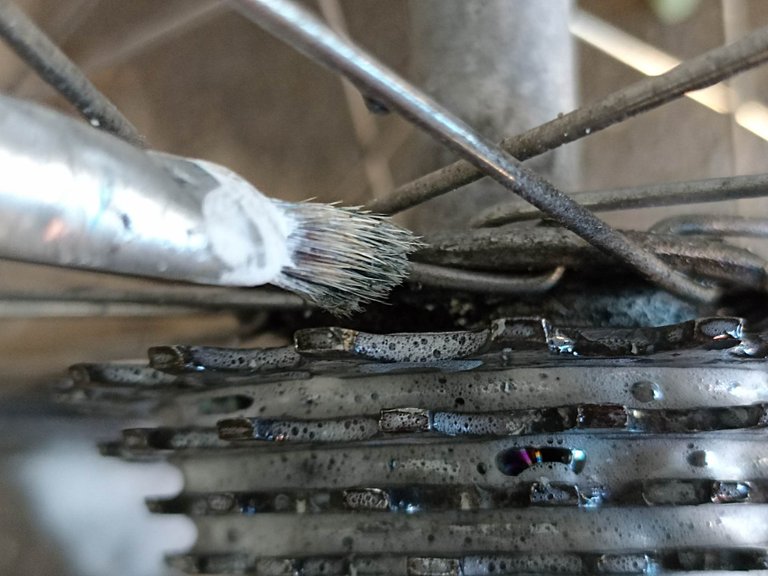 |  |
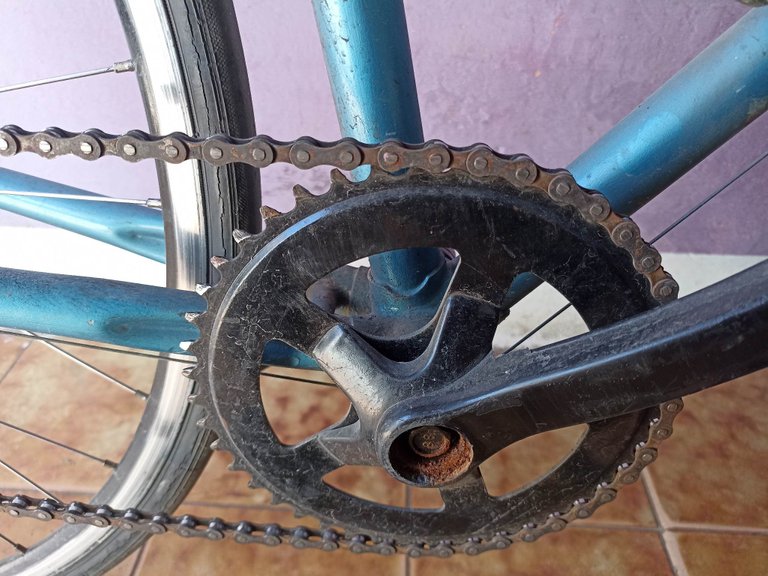
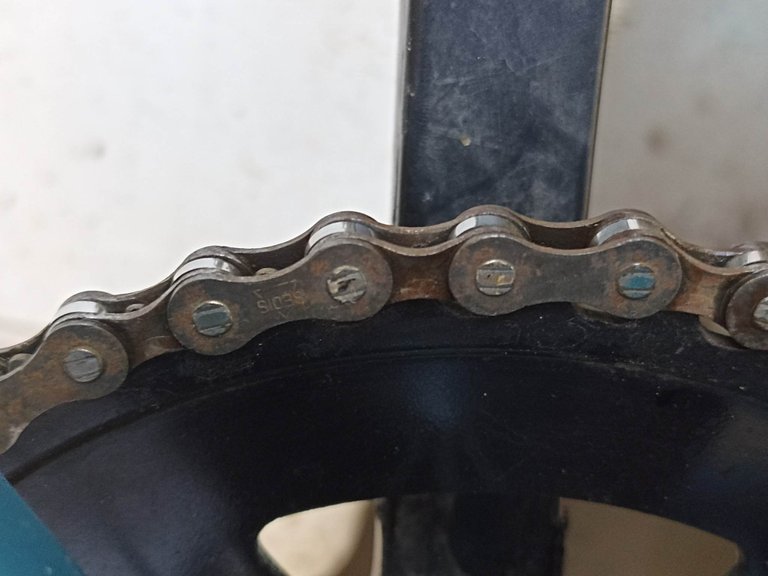
The first thing I did was disassemble the parts that I thought were failing, like in this case the chain, since I thought those horrible noises were because it was dirty. The chain of a bicycle is exposed to dust since it is outdoors, and that, together with the lubricants that the dust has, adheres to it, forming a hard layer of dirt over time that can damage the links. So with degreasing soap, maybe the kind used to wash dishes, I cleaned the entire chain little by little until I was sure that the dirt was coming out. To do it I used a toothbrush that was already unused, I also cleaned the sprocket to remove all impurities, so I also completely washed the entire bicycle, including the wheels and brakes, everything that was dirty and full of dust I removed it with soap and water.
Lo primero que hice fue desarmar las partes que yo pensaba que estaban fallando, como en este caso la cadena, ya que pensé que esos ruidos horribles era porque estaba sucia. La cadena de una bicicleta esta expuesta al polvo ya que esta al aire libre, y que unida a los lubricantes que tiene el polvo se adhiere formando una dura capa de sucio con el tiempo que puede dañar los eslabones. Así que con jabón desengrasante, puede ser del que se usa para lavar los platos, limpié toda la cadena poco a poco hasta asegurarme que el sucio iba saliendo. Para hacerlo utilicé un cepillo de dientes que ya estaba sin usar, también limpie el piñón de las velocidades para quitar todas las impurezas, así también lavé por completo toda la bicicleta, incluyendo las ruedas y frenos, todo lo que estuviera sucio y lleno de polvo lo quité con agua y jabón.
 |  |  |
|---|---|---|
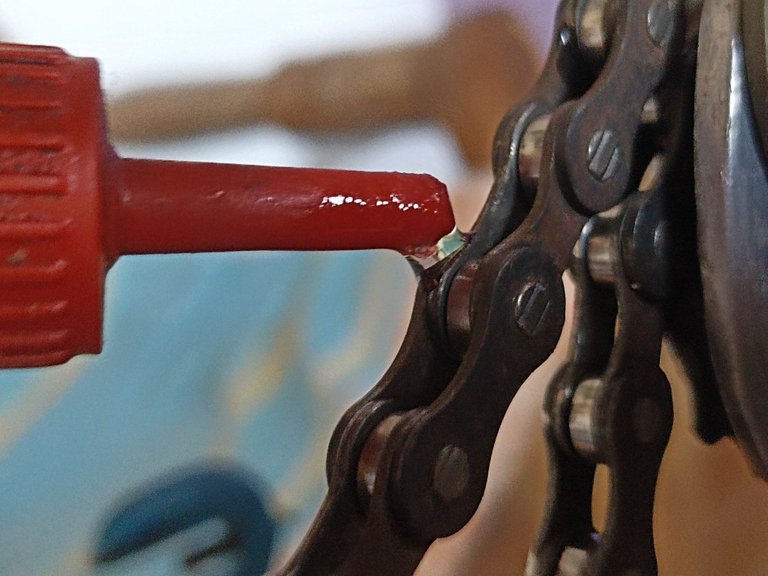 | 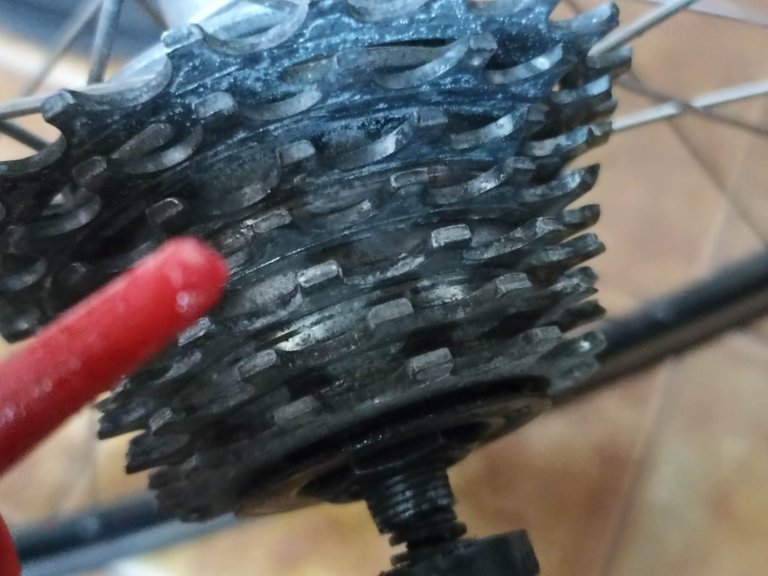 | 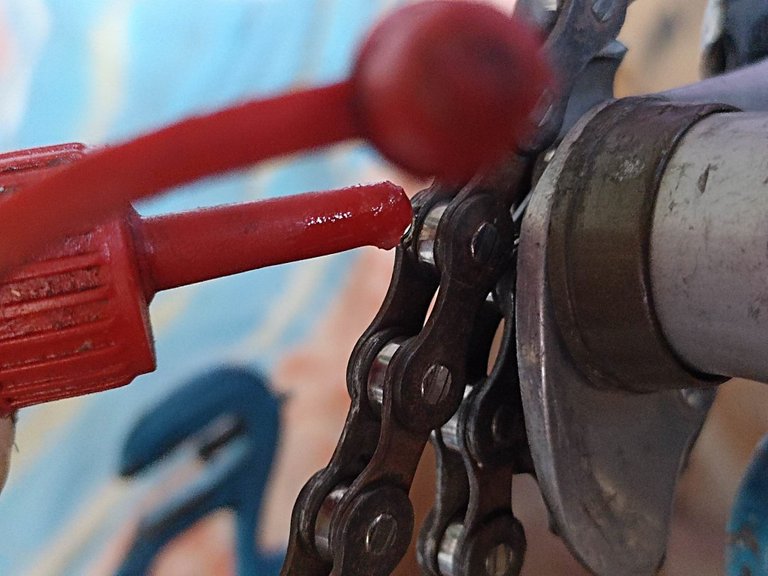 |
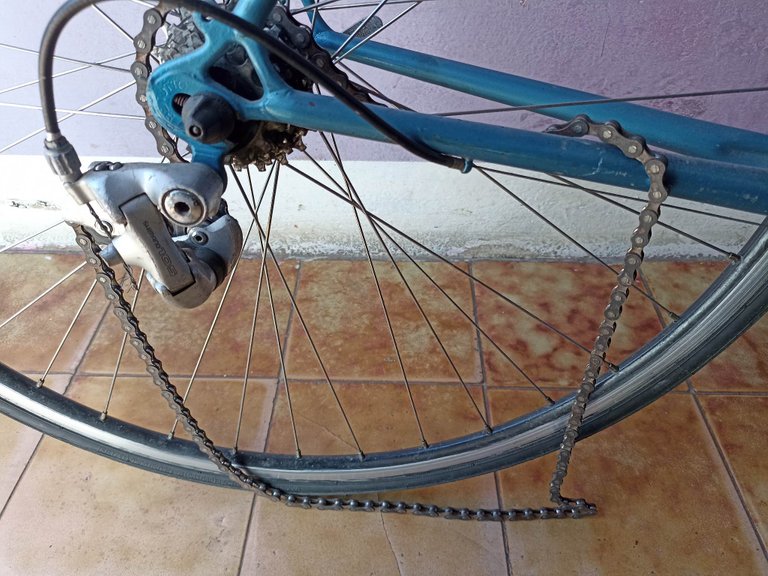
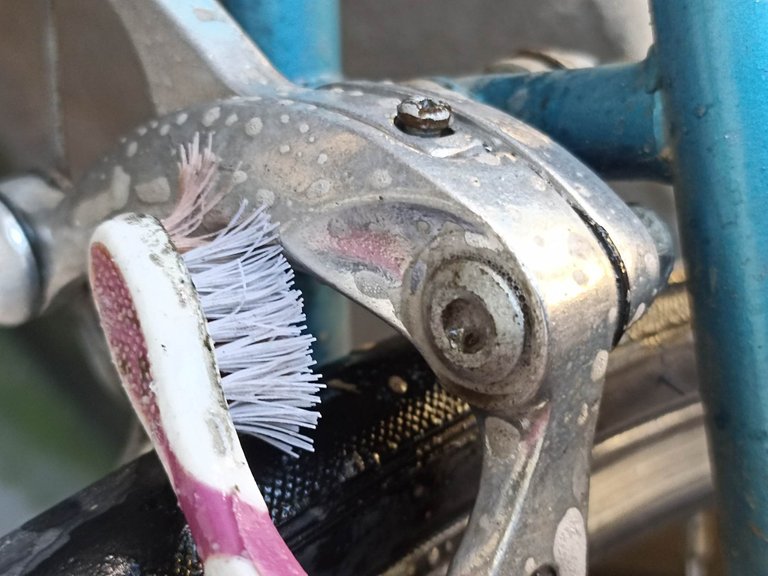
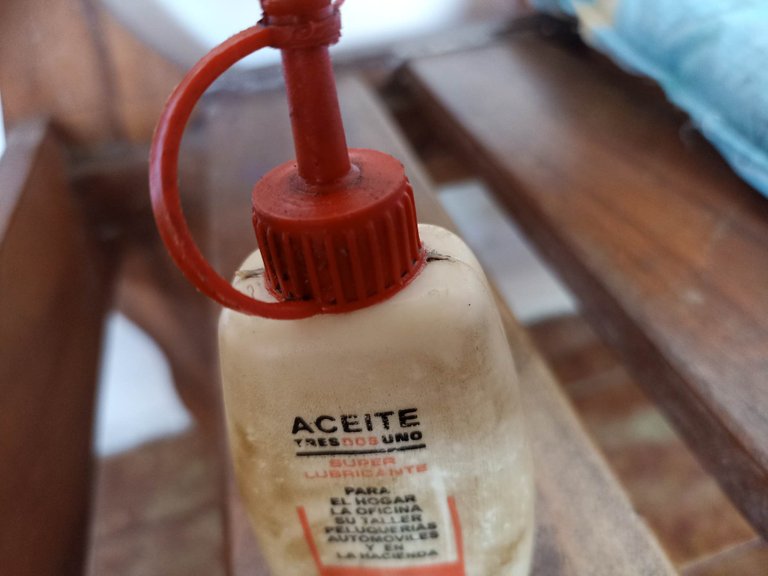
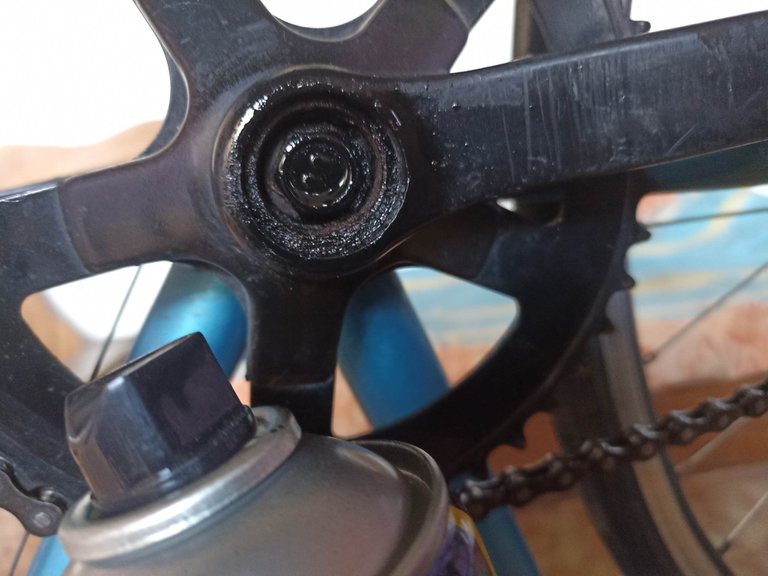
Also clean both wheels, especially the place where the brakes are applied, which tend to get dirty and damage the metal coating, I was observing that soon I will have to buy new wheels. After removing the soap with clean water and making sure that the chain and each area were free of dust, I let the water dry, when it was ready I applied several drops of lubricating oil. Throughout the length of the chain, I put a little oil in each link, as well as in the derailleur that goes to the rear wheel together with the sprocket, I made sure that it was well lubricated, and I noticed that the annoying noises before, he didn't do them anymore. But despite that, the wheel was still very hard, so I had no choice but to start disassembling to remove it and see what happened.
También limpie ambas ruedas, especialmente el lugar donde los frenos son aplicados, que suelen ensuciarse y dañar la capa e metal, estuve observando que dentro de poco tendré que comprar ruedas nuevas. Luego de sacar el jabon con agua limpia y asegurarme de que estuviera la cadena y cada zona libre de polvo, dejé que el agua se secara, al estar lista apliqué varias gotas de aceite lubricante. Por toda la longitud de la cadena, en cada eslabon puse una pequeña gita de aceite, así también en el desviador de velocidades que va en la rueda trasera junto con el piñón, me aseguré de que quedara bien lubricado, y noté que los ruidos molestos de antes ya no los hacía. Pero a pesar de eso, la rueda aun seguia muy dura, así que no tuve mas remedio que comenzar a desarmar para sacarla y ver lo que sucedía.
 |  | |
|---|---|---|
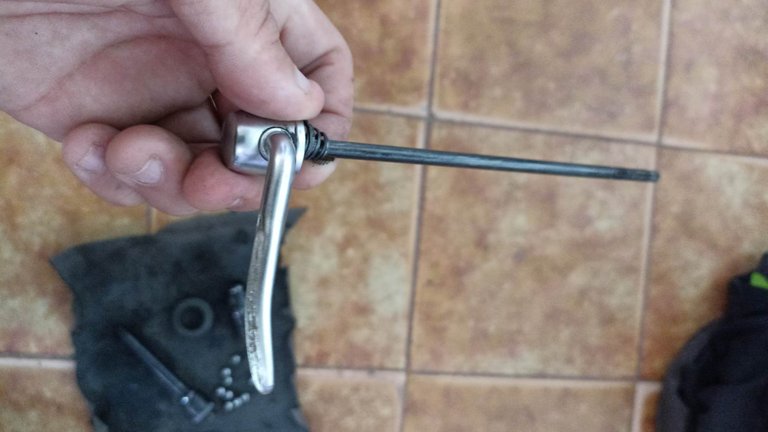 | 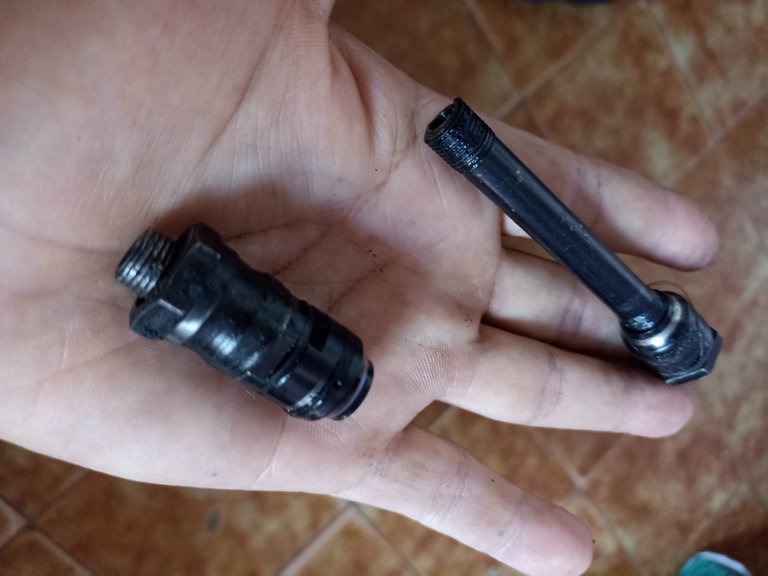 |
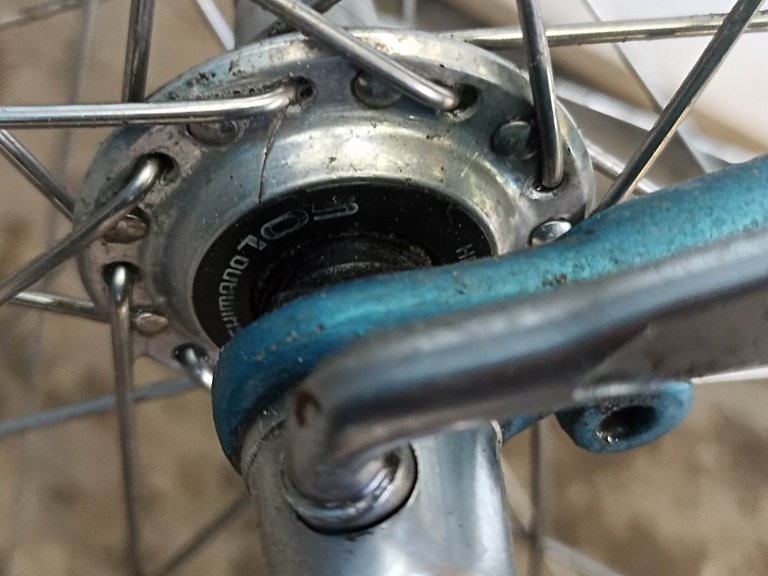
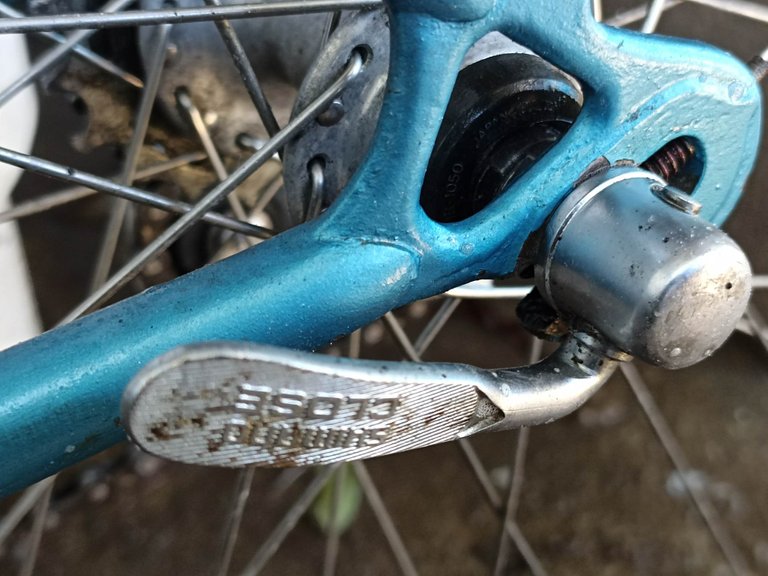
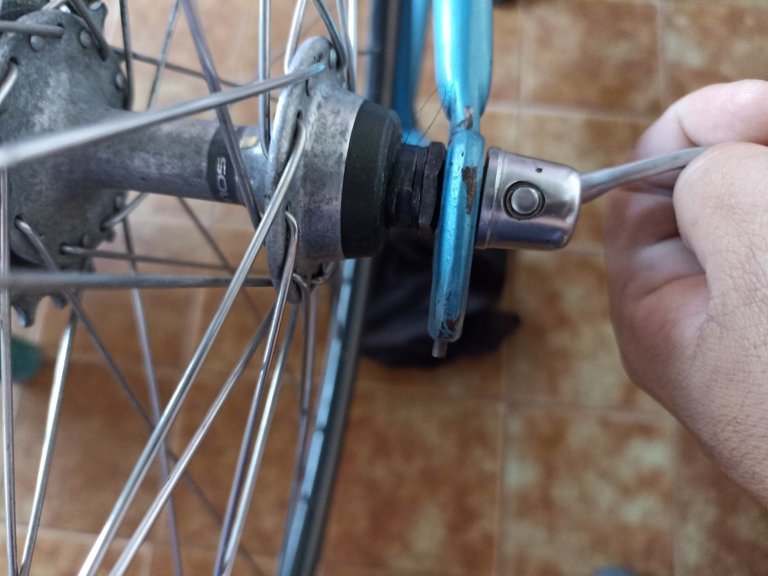
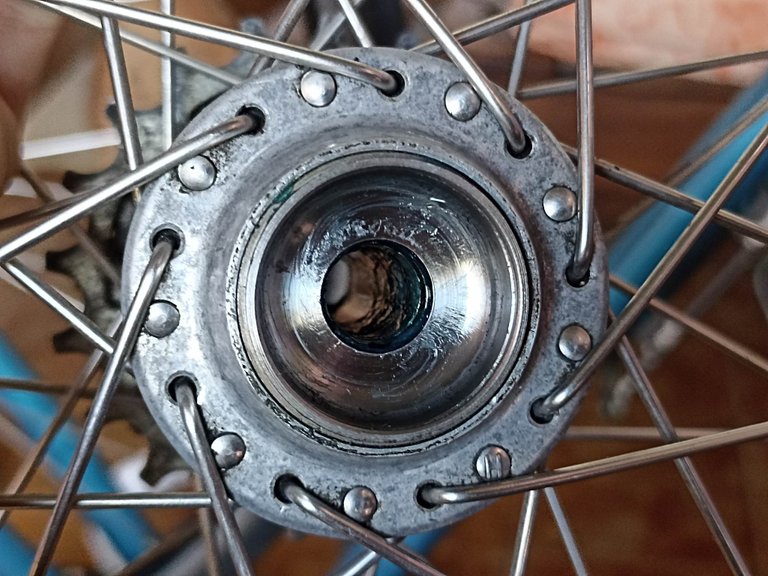
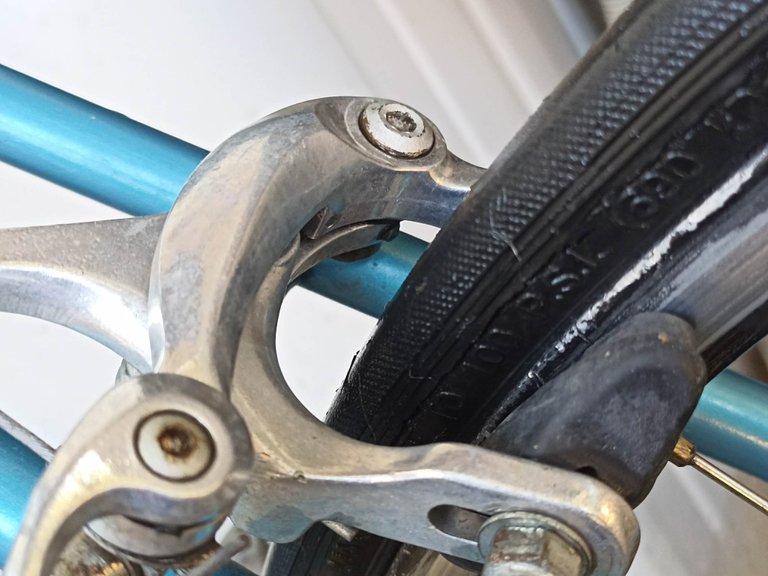
So I removed the rear wheel, to tell the truth I removed both wheels, it should be completely checked. Disassemble the axle system, this bicycle is double, it has a nail with a lever that holds the wheel to the frame of the bicycle, and a tube with a hole through which the nail with a lever goes and helps the gears. When I took them out I got the big surprise that you can see in the image, it was broken, that was the reason why the wheel did not work and makes strange noises, if the bicycle had used normal axles with nuts, a terrible accident would have happened to me. This is very dangerous when it happens, luckily I was able to tell by feeling that the bike was not working well.
Saqué entonces la rueda trasera, a decir verdad saqué ambas ruedas, se debe revisar por completo. Desarme el sistema de ejes, que esta bicicleta es doble, lleva un clavo con palanca que es quien sostiene la rueda al marco de la bicicleta, y un tubo con un agujero por donde va el clavo con palanca y ayuda a los engranajes. Al sacarlos me llevé la gran sorpresa que pueden ver en la imagen, estaba partido, esa era la razón de porque la rueda no funcionaba y hace ruidos extraños, si la bicicleta hubiuera usado ejes normales de tuercas me hubiera ocurrido un terrible accidente. Esto es muy peligroso cuando sucede, afortunadamente pude darme cuenta al sentir que la bicicleta no funcionaba bien.
 |  |  |
|---|---|---|
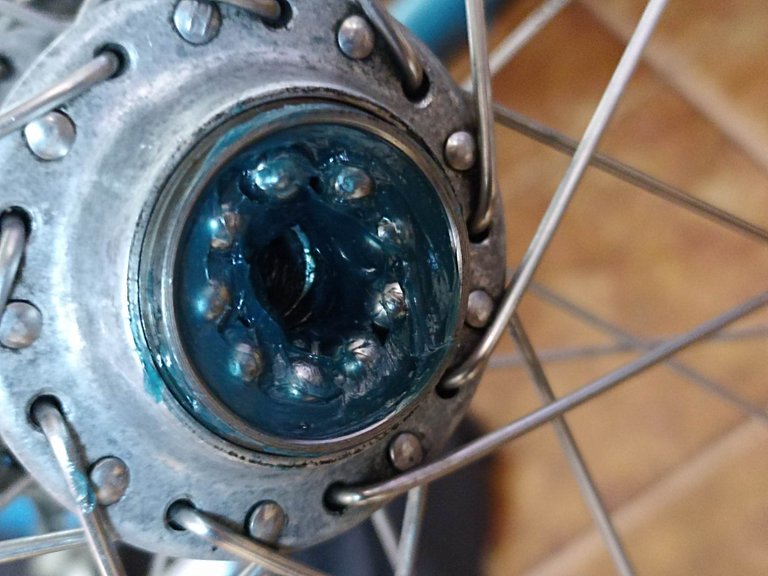 |  |  |
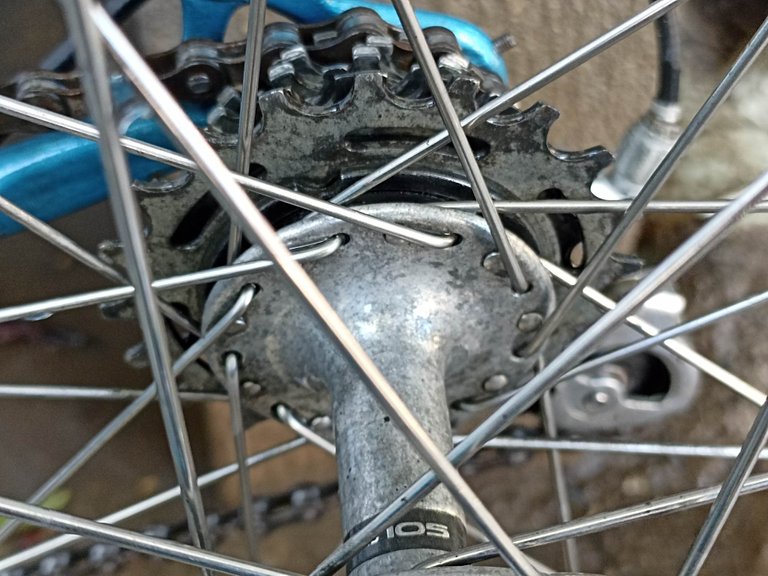
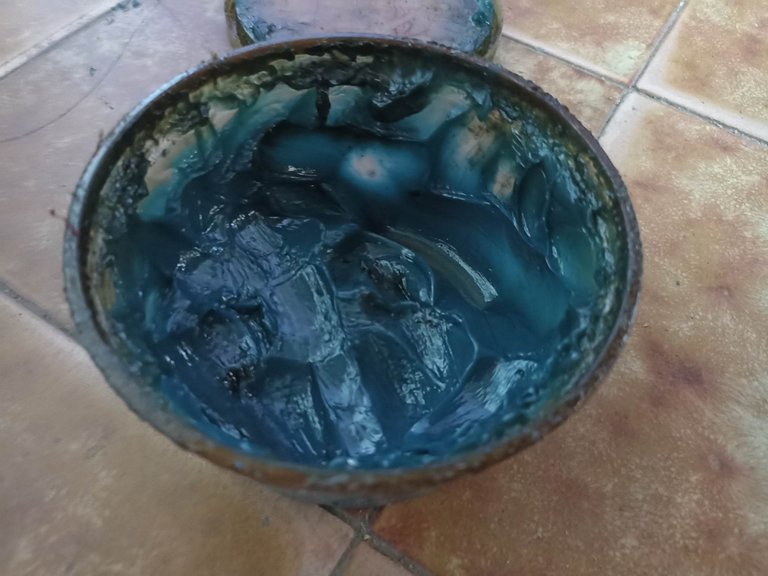
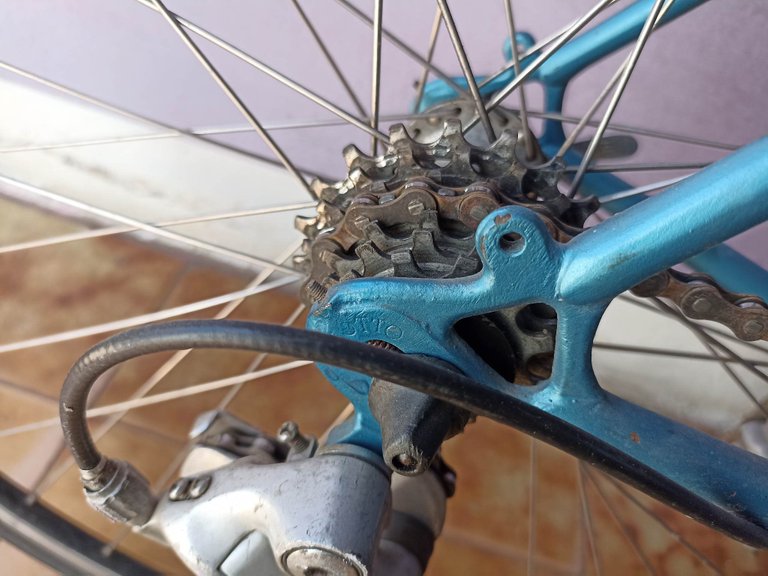
When locating the fault then I bought a new axle, although this is not from the same brand that I used previously, which was a Shimano 105, this is a common brand, but for practical purposes it is what I need, I cleaned the entire area for the axles very good and then I put new lubricating grease, inserted all the ammunition of the gears and each axle in its place, the same for the front wheel. Then the most difficult job was to calibrate the gears of the wheel, the gears must be well placed and with the right pressure so that the wheel is not too hard and can roll easily, but it cannot be too loose either because an accident could occur. So, with a lot of patience, I gradually moved the safety nuts of the wheels until I could notice that the movement was left without restrictions.
Al localizar entonces la falla compré un eje nuevo, aunque este no es de la misma marca que usaba anteriormente, que era un Shimano 105, este es una marca corriente, pero para efectos prácticos es lo que necesito, limpié las toda la zona para los ejes muy bien y luego puse grasa lubricante nueva, introduje todas las municiones de los engranajes y cada eje en su sitio, lo mismos para la rueda delantera. Luego el trabajo más dificil fue calibrar la marcha de la rueda, los engranajes deben estar bien colocados y con una presión justa para que la rueda no quede muy dura y pueda rodar confacilidad, pero tampoco puede quedar muy floja porque podría ocurrir un accidente. Así que con mucha paciencia fui moviendo poco a poco las tuerzas de seguridad de las ruedas hasta poder notar que el movimiento quedara sin restricciones.
 |  |  |
|---|---|---|
 |  |  |
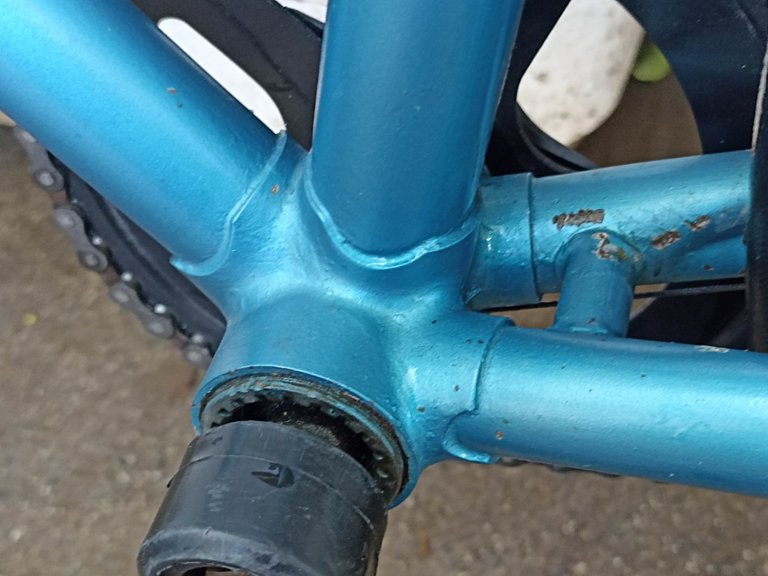
Finally, I made adjustments to the chain and also painted some parts that were rusty and lacked protection against water. Then I made some adjustments to the wheel locks and tightened every nut and bolt that was needed. This is how this maintenance was completed, all that was left was to go test it with a tour of the city.
Para finalizar hice ajustes en la cadena y tambien pinté con pintura algunas partes que estaba oxidadas y les faltaba protección contra el agua. Después hice unos ajustes a los frenos de las ruedas y aprete cada tuerca y tornillo que hiciera falta . Así quedó finalizado este mantenimiento, solo faltaba ir a probarla con una vuelta por la ciudad.


This is how my bicycle was after a repair and maintenance job, it was very smooth, the difference is abysmal, two years without maintenance it shows and my irresponsibility could have been more expensive, but I was able to fix it. It is always good to make these repairs, if we don't know how to do it, we can look for tutorials on YouTube, I have learned through my own experience and by asking here and there. Taking the bike to the workshop can be very expensive and sometimes for things that we can fix. I hope you liked this short tutorial on how to lubricate our bike and check possible damaged parts, I say goodbye until a new opportunity. See you soon!
Así quedó mi bicicleta luego de una labor de reparación y mantenimiento, quedó muy suave, la diferencia es abismal, dos años sin hacer mantenimiento se nota y mi irresponsabilidad pudo haberme salido mas caro, pero pude arreglarlo. Es bueno siempre hacer estas reparaciones, sino sabemos como hacerlo pordemos buscar en youtube tutoriales, yo he aprendido a través de mi propia experiencia y preguntando aqui y allá. Llevar la bicicleta al taller puede salir muy costoso y a veces que por cosas que nosotros podemos arreglar. Espero les haya gustado este breve tutorual sobre como lubricar nuestra bicicleta y revisar posibles piezas dañadas, me despido hasta una nueva oportunidad. Hasta pronto!
https://twitter.com/280767197/status/1622353424858636288
The rewards earned on this comment will go directly to the people( @fixie ) sharing the post on Twitter as long as they are registered with @poshtoken. Sign up at https://hiveposh.com.
Thank you for sharing this post in the DIYHUB Community!
Your content got selected by our fellow curator stevenson7 & you just received a little thank you upvote from us for your great work! Your post will be featured in one of our recurring compilations which are aiming to offer you a stage to widen your audience within the DIY scene of Hive. Stay creative & HIVE ON!
Please vote for our hive witness <3
I feel very grateful to share my experience in this community. Thank you very much for your support
Repairing what you have is very good when you can't get new one
that's how it is. I always try to learn more about how my bike works so I can repair it myself and thus avoid spending money. It is my means of transportation, my faithful companion
Cool retro bike!
It's always good if you can do some maintenance on your bike yourself. It saves you a lot of money. If you have the right tools it's often even not that difficult.
Upvoted by the Cycling Community
Hacer el servicio por ti mismo, le pones más interés y te ahorras algo de dinero que hoy día, debemos estirar y mucho. Ha sido muy didáctico, nunca he desarmado una de esas. Pero si llega el momento ya se un poco mas.