My Actifit Report Card: April 2 2024
I can tell you that I'll never look at a floor in the same way again. When you do things for yourself, you quickly realize the true value of things.

Hello Hive, let's start this report with a view from my tiny house over my pond.

Yesterday, the aim was to fasten all the joists (which make up our floor) together.
To do this, we had to do two complex things:
- Draw a line on all the walls to know exactly where the level is (so as to have a straight floor).
- Fix the joist frame to the chipboard that forms the base of my wall.
For the first step, we bought a laser level. It's quite an expensive investment, but it means we can be sure of having the right level everywhere.

On the "entrance" part of our tiny house, according to our laser level, the joists touch the ground. However, on the "back" part of our tiny house, the joists will be suspended at a height of 7cm.
We didn't think we'd have such a big level problem. To the naked eye, it was almost impossible to see. So it's a good thing we bought this laser level, because with a simple spirit level, we'd never have dared lift our joists so high.

Every 20cm, we cut 8mm-diameter holes in the wood for our knock-in dowels.
Then, behind these holes, we had to make holes in the chipboard to drive in the knock-in dowels and allow our joists to hold against the wall.

Digging an 8mm hole in agglo is not easy. You need a drill with a concrete bit. The drill must be powerful.
Next, start the hole by pressing gently on the drill. Then press harder and harder.
The first hole is fairly simple to make. Then the muscles get tired and it becomes more and more exhausting and annoying. Then the swearing starts coming out of my mouth.
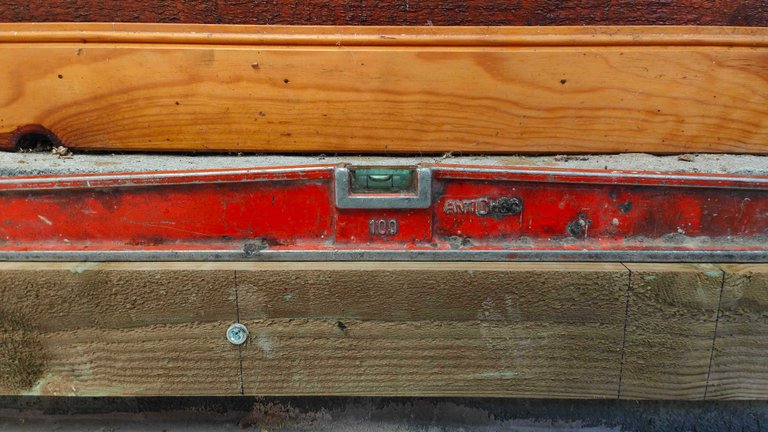
Next, we made sure we were level with a spirit level. Yes, because having drawn a line on the wall with a laser level doesn't ensure that when we fix our joists we won't shift. So a little checking never hurts.
In this case, it couldn't be straighter!

Once we'd fixed the first joists to the wall, we had to put some on the inside too, because it's on these middle joists that our OSB boards and laminate flooring will rest.
We fixed these joists with angle brackets.


The middle joists are quick to install. As a result, you really feel like you're moving forward.
The joists against the wall, on the other hand, take a long time to install, because holes have to be drilled in the joists and then in the concrete behind them. For each joist, we need around 7 or 8 holes to accommodate our knock-in dowels (one every 20cm).
The wood we've chosen is quite flexible, so we'll need to install shims under strategic points of our middle joists to prevent the floor from sagging too much when we walk on it.
We thought we'd have time to finish all the joist installation in the same day. But no, we're going to need one more.
We really underestimated the amount of time we'd have to spend thinking about it. And we want a solid floor. That's better, isn't it?
So the rest of the installation is tomorrow!
This report was published via Actifit app (Android | iOS). Check out the original version here on actifit.io


Congratulations @genesisledger! You have completed the following achievement on the Hive blockchain And have been rewarded with New badge(s)
Your next target is to reach 9000 upvotes.
You can view your badges on your board and compare yourself to others in the Ranking
If you no longer want to receive notifications, reply to this comment with the word
STOPCheck out our last posts: