Building My Archery Range Up To Level 2 And Some Shooting
Greetings Fellow Backyard Archers And Other Keepers Of The Kinetic Energy!
Near the end of last summer, I shared a report on the
makeshift back yard archery range that I set up in order to be able to practice some when I go to the village garden I am taking care of. (Well, at least I try.)
I called it Level 1 back then and I know the experience I had while testing it did convince me that more work would have to be done. But when I was thinking of Level 2, I meant mostly making the wall wider so that it would be safer for less experienced users.
There are people who would sometimes miss the broad side of a barn, as you well know, I guess. I certainly do hope that such people come no close to this place since I have no broad sides of any barns. Yet...
Anyway, I was able to build my Archery Range to Level 2 today. But I focused on not making it wider but making it softer for the arrows which should be easier to pull out and a bit weatherproof.
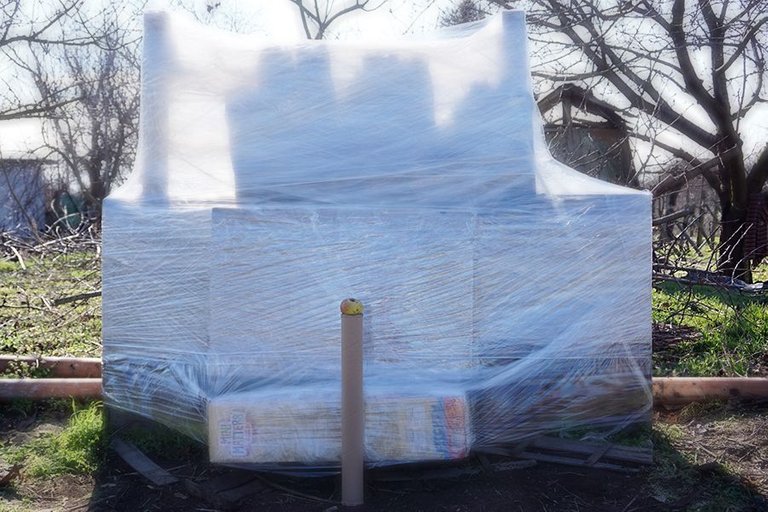
And this is it.
I shouldn't miss it when shooting from a twenty yards distance.
And no, I don't imagine the transparent part where there's only the stretch folio above the cardboard boxes would stop an arrow.
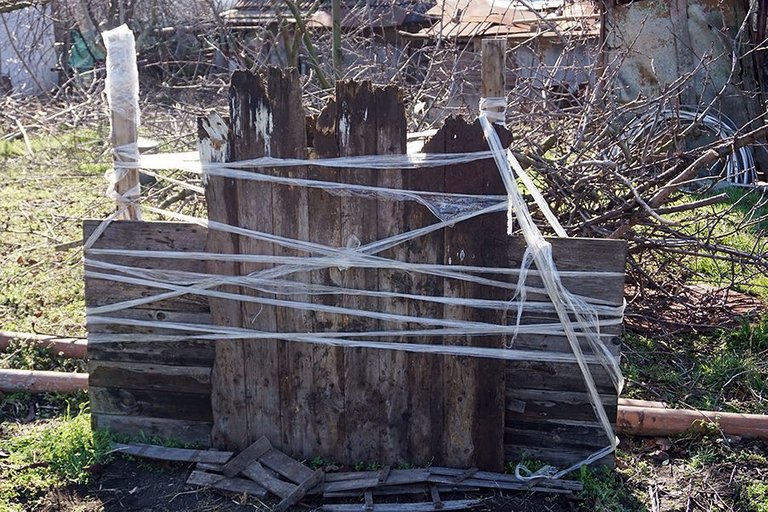
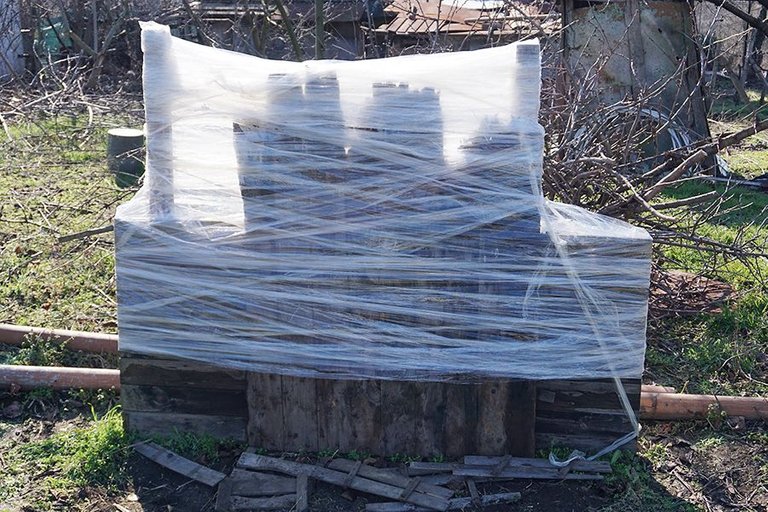
So...let me first share the steps of building it and then some photographs from the short shooting session I had afterwards.

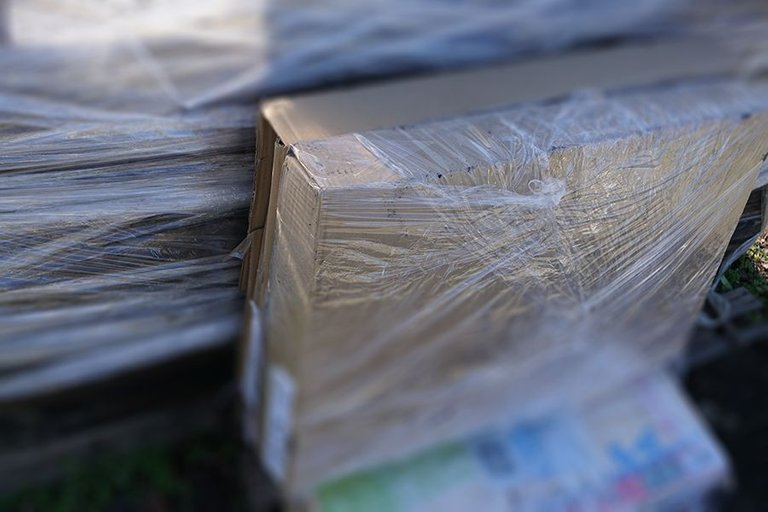
The front box has some additional old cardboard pieces stuffed inside.
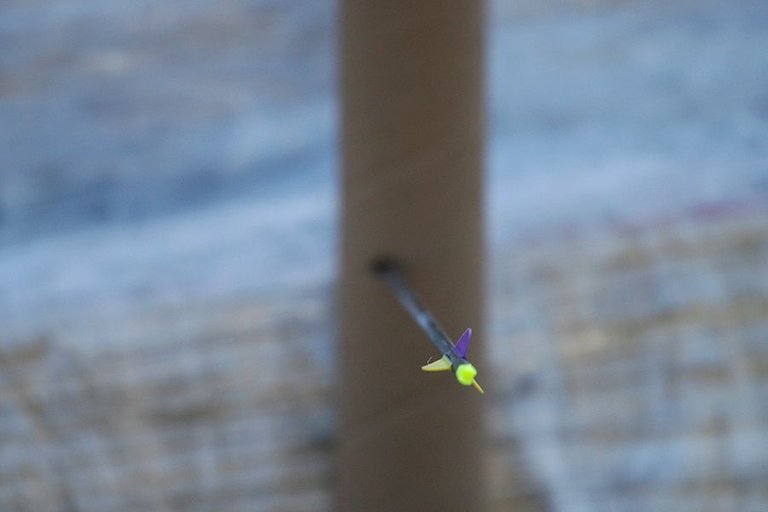
Then, it was the step that you saw in the opening image.
Fast forward to the shooting series...
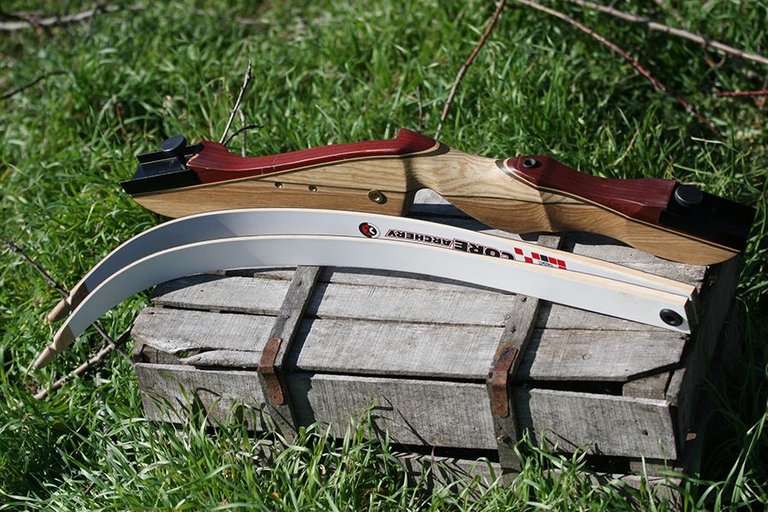
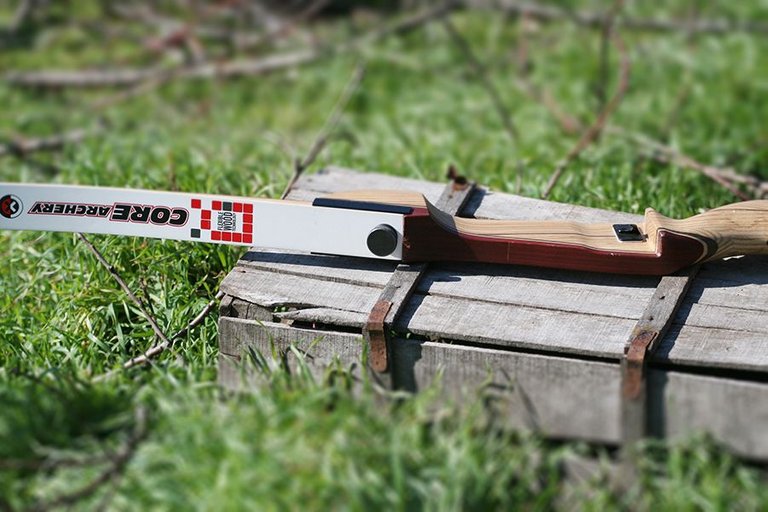
I don't know if I ever showed you the bow in such a state before. Not yet assembled. Easy to transport.
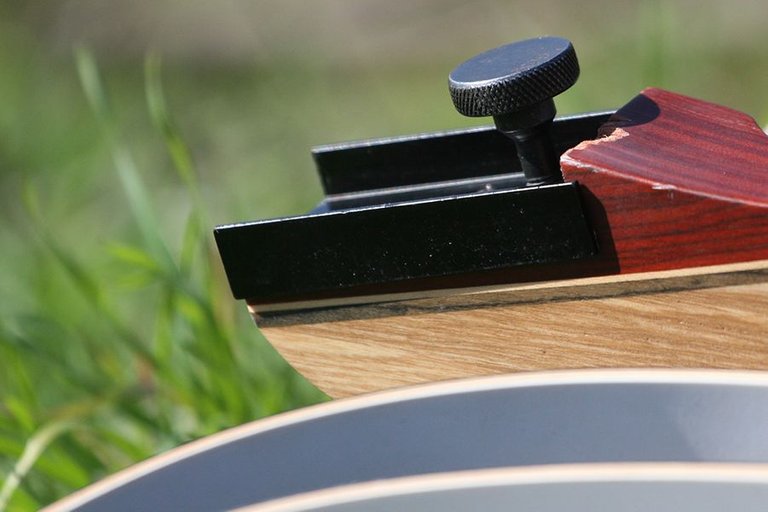
The shoulders get attached to the body with this kind of screws.
Like this.
Perhaps, here is the best place to write about keeping your bow unstringed while not using it. Assembled is all right. But not stringed if you are not planning to shoot it within minutes. Following this advice would help preserve it better and keep it less dangerous for anybody nearby.
Now, off to firing some arrows...
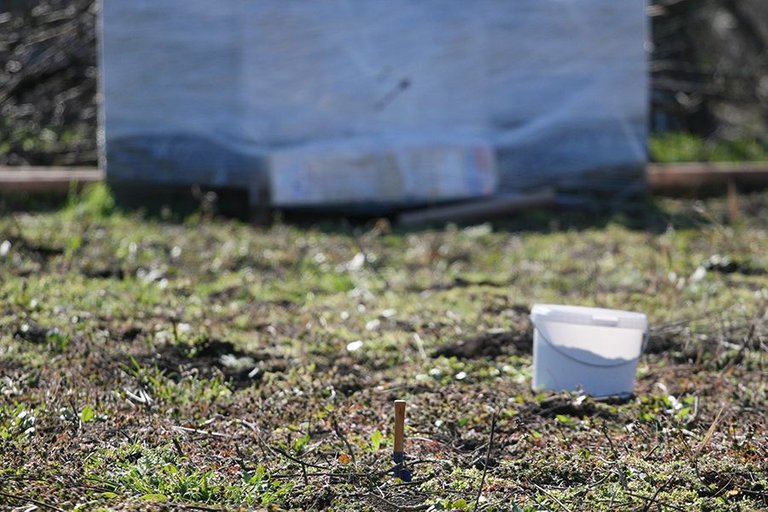
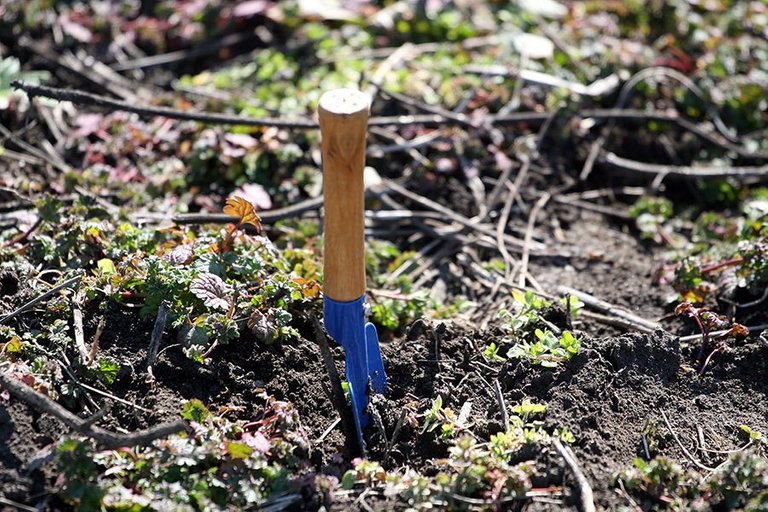
This tiny garden tool was my mark because at this distance arrows go higher than what you see.
You just have to learn the parabolic trajectory for each type of bow and each type of arrows that you use. Including length, material, tip, feathers, body, etc.
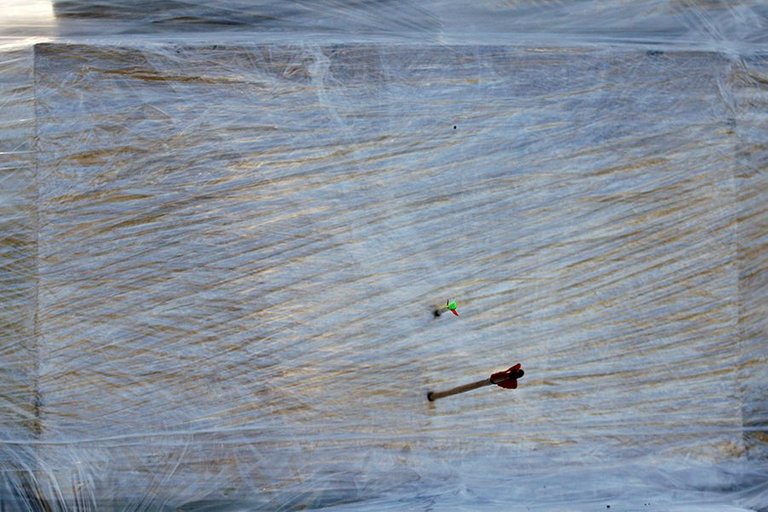
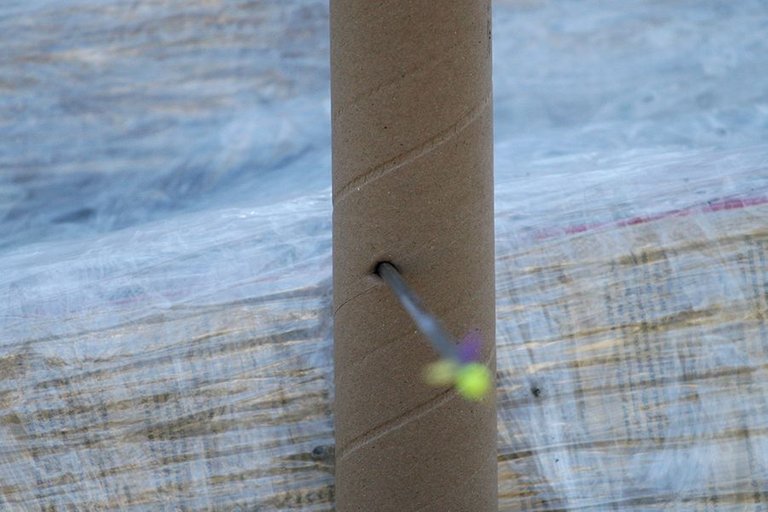
Here I have a good vertical line during the first series I shot.
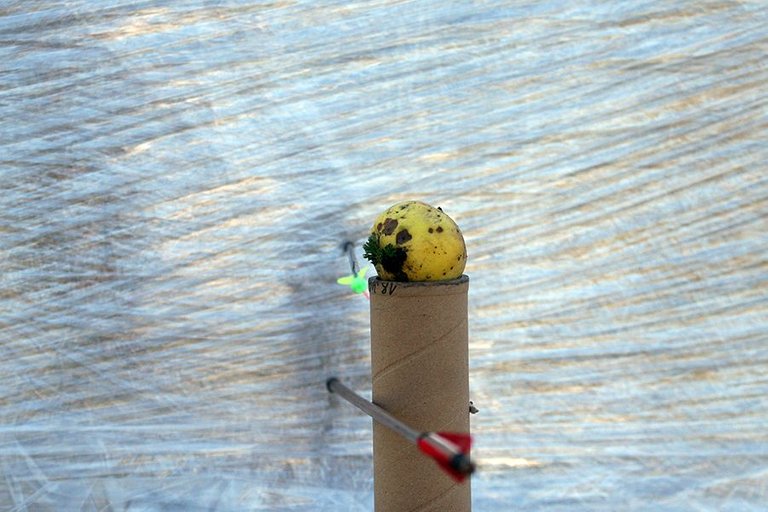
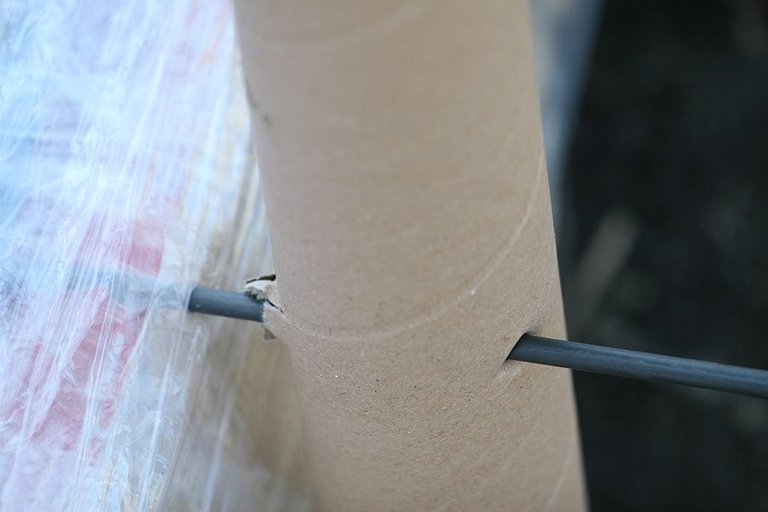
The bamboo arrow knocked the tube supporting the apple when it glanced it on the side.
__This is how it would look like if I put them back up.

That was close. I think I might throw up.
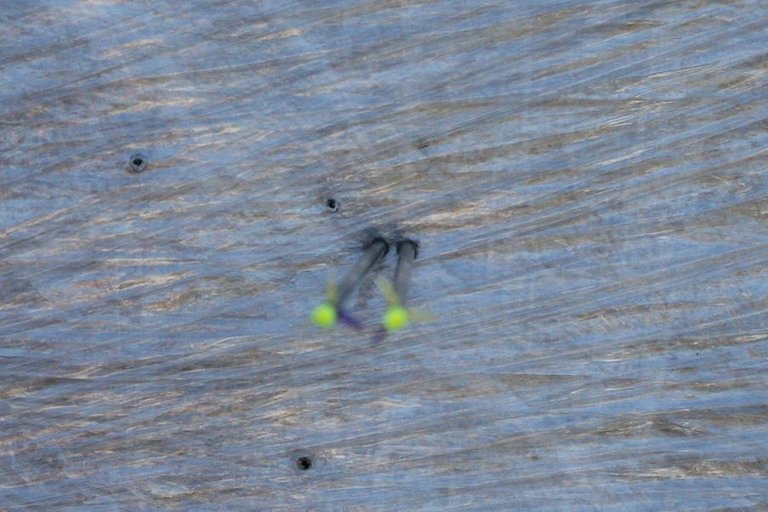
The second series brought me some joy after I saw the tight grouping of the only two arrows of this type. I don't remember previously achieving this at twenty yards.
And here's a penetration example.

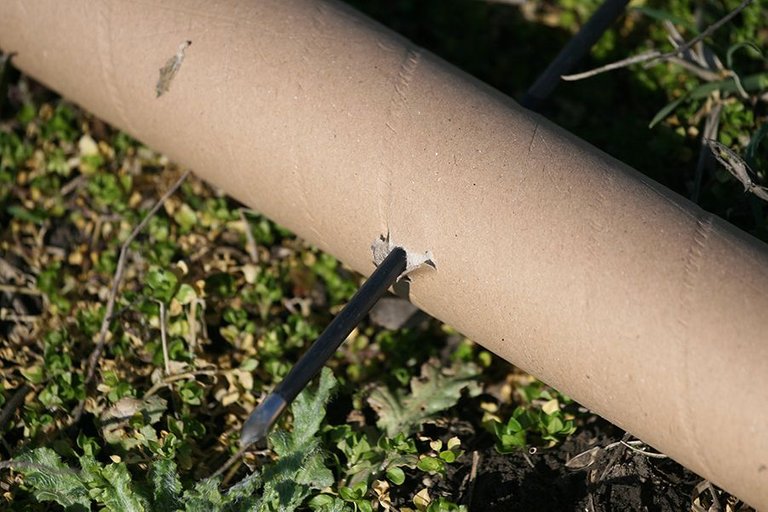
In the end, I am happy about yet another aspect of my Level 2 archery range. I can now safely use the carbon arrows, as you saw above.
And that's a good thing since I have only one out of initially six bamboo arrows left.
Peace!
Manol
View or trade
BEER.Hey @manoldonchev, here is a little bit of
BEERfrom @pixresteemer for you. Enjoy it!Do you want to win SOME BEER together with your friends and draw the
BEERKING.