The Best Way For Women To Do Salamba Sarvangasana
Good morning everyone in Indonesia in particular, and those in the whole world in general, so this morning I want to share with all social sportstalk users and all who have joined here, and want to write a little about The Best Way For Women To Do Salamba Sarvangasana this is especially for women, but for men it can.
In Sanskrit: Salamba means Supported, Sarva means All, Anga means Limb, Asana is Position. Pronunciation: sahr-vahn-gah-sah-nah. This Asana is called the "mother" or "queen" of all asanas. Literally translated into all limb positions. But that's actually another name for this position in Indonesian is the attitude of the candle, because your body weight only rests on the shoulder bones and forms a position that looks like a candle. This is a strong Asana, and its upside down position can help you more easily learn other more complicated poses. This most important asanas yoga is one of the first few that you will practice and continue to practice, even if you have mastered it.
All You Need to Know about Salamba Sarvangasana, What You Need to Know Before You Perform Asana is: How to Do Salamba Sarvangasana, Actions, Prevention and Contraindications, Beginner Tips, Advanced Pose Variations, Benefits of Candlap Position, The Knowledge Behind Salamba Sarvangasana, Preparatory Positions, Advanced Positions
source
What You Need to Know Before Doing this Asana, this Asana should be practiced either in the morning or at least four to six hours after eating. The stomach and intestine must be empty when you practice this asana. The food consumed must be thoroughly digested so that there is enough energy to be used during exercise.
How to do the Salamba Sarvangasana
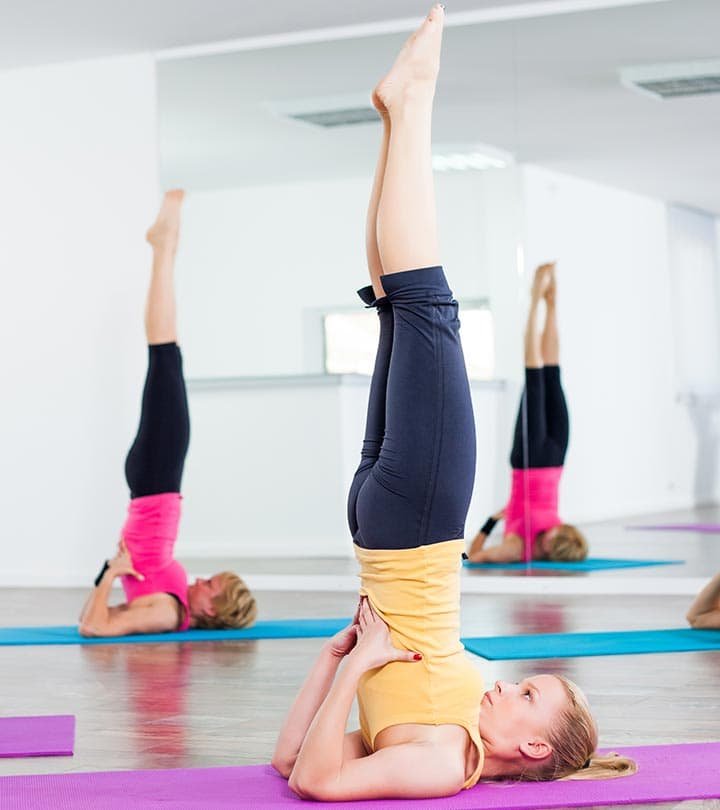
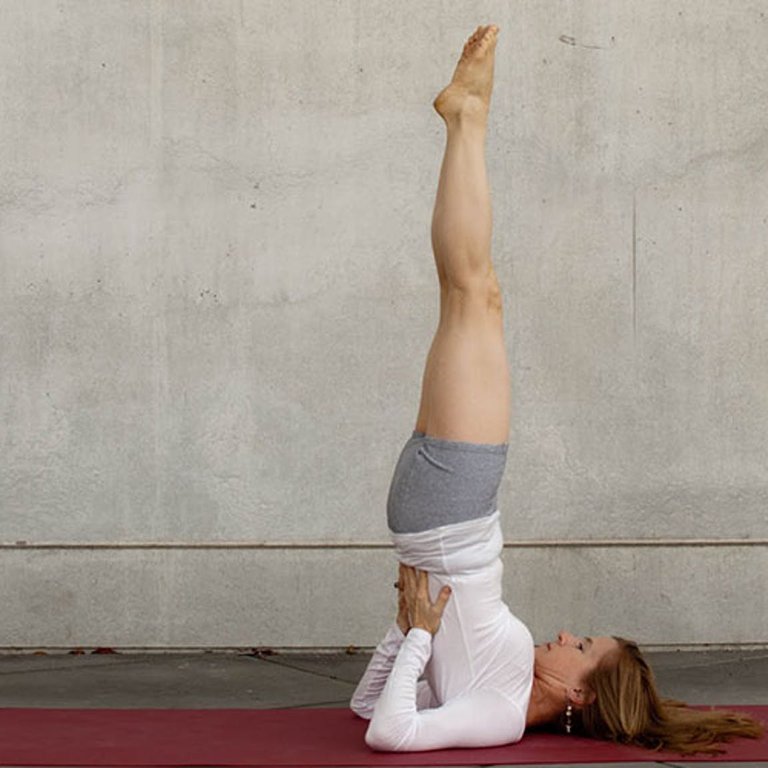
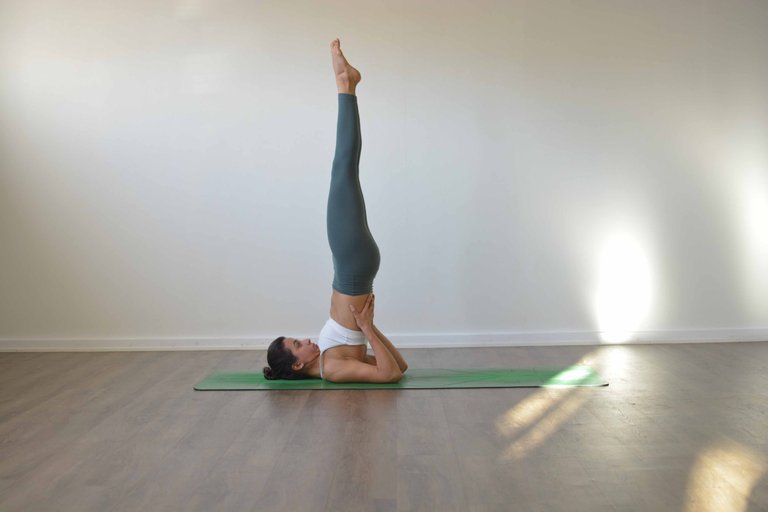
First is to start by lying on your back, bringing your legs and arms together by your side. and in the second stage With one swift motion, lift your legs, buttocks, and back, so that your elbows support your lower body, and your position is held on your shoulders. Meanwhile you must use your hands to support your back. And so on on the third step When you reach the position, make sure to move your elbows closer to each other. Straighten your spine and legs. Body weight must be concentrated on the shoulders and upper arms. Don't support your body on your neck or head. Keep your feet straight and grip your toes. Hold posture for about 30 to 60 seconds. Take a deep breath while doing it. If you feel tension in your neck, release immediately. To release, lower your knees and raise your hands to the floor. Then, lie back and relax.
source
Beginner Tips
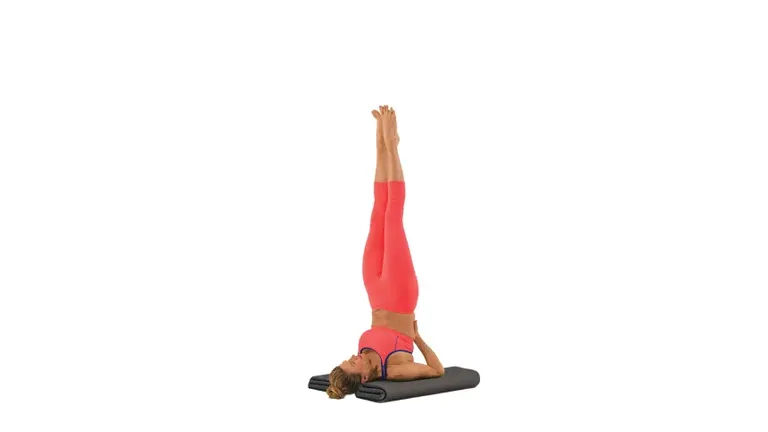
As a beginner, your elbows can be slippery and loose, causing your upper arm to roll inward. This can cause the body to push against your upper back, which will undermine the pose and also cause your neck to become tense. Use the mattress to support the shoulder. Roll the mattress and place it on this blanket so that the long part of the blanket will be parallel to the edge across the shoulder. Now, when you begin to enter the position, let your elbows be lifted and secured on the mat.
source
Advanced Pose Variations
To intensify the stretch in the shoulder blade, this is what you have to do. First, make sure you open your palms widely and place them on the back of the body. Then, push it in and up against the back ribs with the ring finger and pinkie. Every now and then, release your hands from behind, squeeze the shoulder blades inward, and place your hands back, each time closer to your head than before.
Thank you for visiting my blog, don't forget to follow and choose me to post, and another don't forget to share this post with other friends.